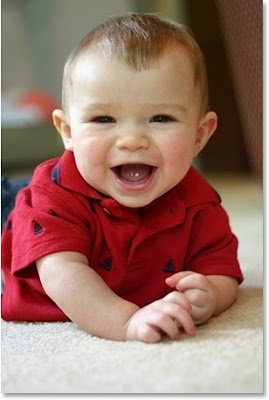
Step 1: Crop The Main Photo Into A Close-Up Of The Person's Face
Step 2: Crop The Smaller Photos
Step 3: Open A New 100 px x 100 px Document or Ctrl+N
Step 4: Drag Your Two Small Images Into The New Document
Select the Move Tool.
Click inside the first image with the Move Tool and drag it into the new document.
Click inside the new document and drag the image into the top left corner.
Hold down "Alt"
Drag the second image into the new document with the Move Tool.
Drag the image into the top right corner.
Hold down "Alt"
Step 5: Flatten The Image
Photoshop's Layers palette showing five layers.
The Layers palette now showing only one layer after flattening the image.
Go to Layer menu at the top of the screen and select Flatten Image.
Step 6: Desaturate The Image
Press "Shift+Ctrl+U"
Step 7: Define A Pattern With The Image
Go up to the Edit menu at the top of the screen and choose Define Pattern.
Step 8: Create A New Layer In The Main Photo
Click the "New Layer" icon at the bottom of the Layers palette.
The Layers palette showing the new blank layer above the Background layer.
Step 9: Fill The New Layer With The Pattern You Created
go to the Edit menu and choose Fill or use the keyboard shortcut Shift+F5.
*The image is now completely filled with the pattern.*
Step 10: Change The Blend Mode Of The Layer To "Overlay"
Change the blend mode of the pattern-filled layer from "Normal" to "Overlay" to blend the pattern with the image.
The result


