Basic red eye removal
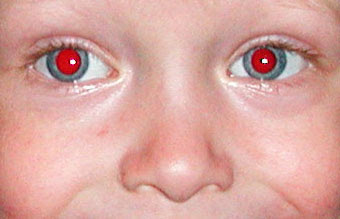
For this tutorial we're going to use the following image:


Step 1 : Open this picture in Photoshop.
Step 2: Duplicate the Background layer by dragging/dropping its thumbnail onto the Create a new layer icon
Step 3: Select the Red Eye tool
With the tool selected use the following settings in the options bar:
Pupil Size: 50%
Darken Amount: 70%:
Step 4: Make sure that the Background copy layer is the active layer (it will have a blue background in the layers palette):
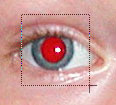
Step 5 : Now remove the red in each eye by making a rough selection.

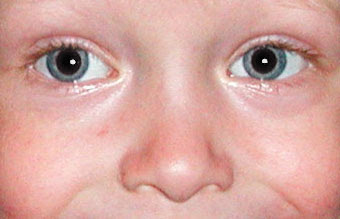
Step 6: There you have your photo without a red eye.

No comments:
Post a Comment